Tuesday, June 30, 2015

Playful Pups Layout using Crafts By Two Font Art Tutorial

I made another Font Art title using the Crafts By Two Font Art Tutorial for this layout of last year when we got our new puppy.  

 I followed the tutorial to create the Playful Pups title with the mats behind it then uploaded it to Design Space. Then I went back to Inkscape and followed the same instructions to make the mat layer for the paw print so it would match my title,  then uploaded it to Design Space where I was able to attach the two images together. 


The rest of my images are from Miss Kate Cuttables.

The Dog patterned papers are from Kaiser Craft, Queen & Co and American Crafts and were purchased at my local scrapbook store. 

The layout design is from CTMH Magic How-To Book

The solid cardstock is from Close To My Heart:

I also added some Recollections Burlap ribbon and a Paw Print brad for embellishment. 

 Receive regular updates of upcoming Classes & Workshops 
by signing up for my Monthly Newsletter.  Link in right hand column. 

In Canada? You can purchase the products to make this item on my CTMH website:

Or start your own CTMH business or join as a Hobby Consultant 
and receive approx. $400 worth of product for just $109.  

Contact me for more information: nshelmer@icloud.com

Monday, June 29, 2015

Cricut Design Space App for iPhone Now Available

**This post contains affiliate links and I will be compensated if you make a purchase after clicking through my links. 

I just downloaded the new Cricut Design Space App for iPhone from the App Store.  Love it already!

Even though the screen on my iPhone is small the App is an updated version of the one I have been using on my iPad for the last few months.  I prefer the app to the computer version.  I find it way easier to use.   Now I can work on projects anywhere and then cut when I am ready.


After I downloaded it gave me a few quick pages to scroll through showing how it works.


I logged in and it shows some Make It Now Designs.  


Then I tapped on the icon on the upper left with 3 horizontal lines - that will give you a list of different categories including your saved projects. 
I chose Cards.


Then I selected the We Go Together Card. 
It shows as free on the upper right side because I purchased the Classically Modern Cards cartridge when it came out last month.  


Next, I chose Customize at the bottom of the project screen so it would take me to the Design Screen.  If you look at the upper right you will notice that the square has the middle section highlighted - that is for the Design Screen. 
(left is for projects and the right side is the preview/cutting screen)

I tapped on the Edit icon and the size shows along the bottom. Tap on it again for it to go away.


I did the same for the Layers panel to show up.  
You can see all the icons along the bottom by swiping along the bottom.


Then I tapped Send to Mat at bottom right corner and it came up with my Preview Screen where I can move things around on my mats then tap Go to cut. 


Love it!   So easy to use and will be great to be able to start a design on any of my devices, save and pick up where I left off on another.  I can easily see myself on this a lot since I always have my iPhone with me and spend a lot of time sitting outside while my dogs tear up the yard.


Final Days to Order Cricut June Mystery Box!

**This post contains affiliate links and I will be compensated if you make a purchase after clicking through my links. 

June's almost over - don't miss out on your chance to get this month's Mystery Box at Cricut for $29.99


It comes with 3 Cricut cartridges, materials and a Cricut accessory - over a $90 value.
The latest pictures that I've seen online have had different cartridges than what came in mine.

Get free standard shipping by using the code JUNESHIP when you checkout.

Sunday, June 28, 2015

Gotta Love a Bargain on Laminator & Laser Printer for Foiling

I've been pricing out Laminators and Laser Printers because I want to try my hand at Foiling using my Cricut Explore to cut images that I print with a laser printer.

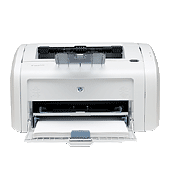
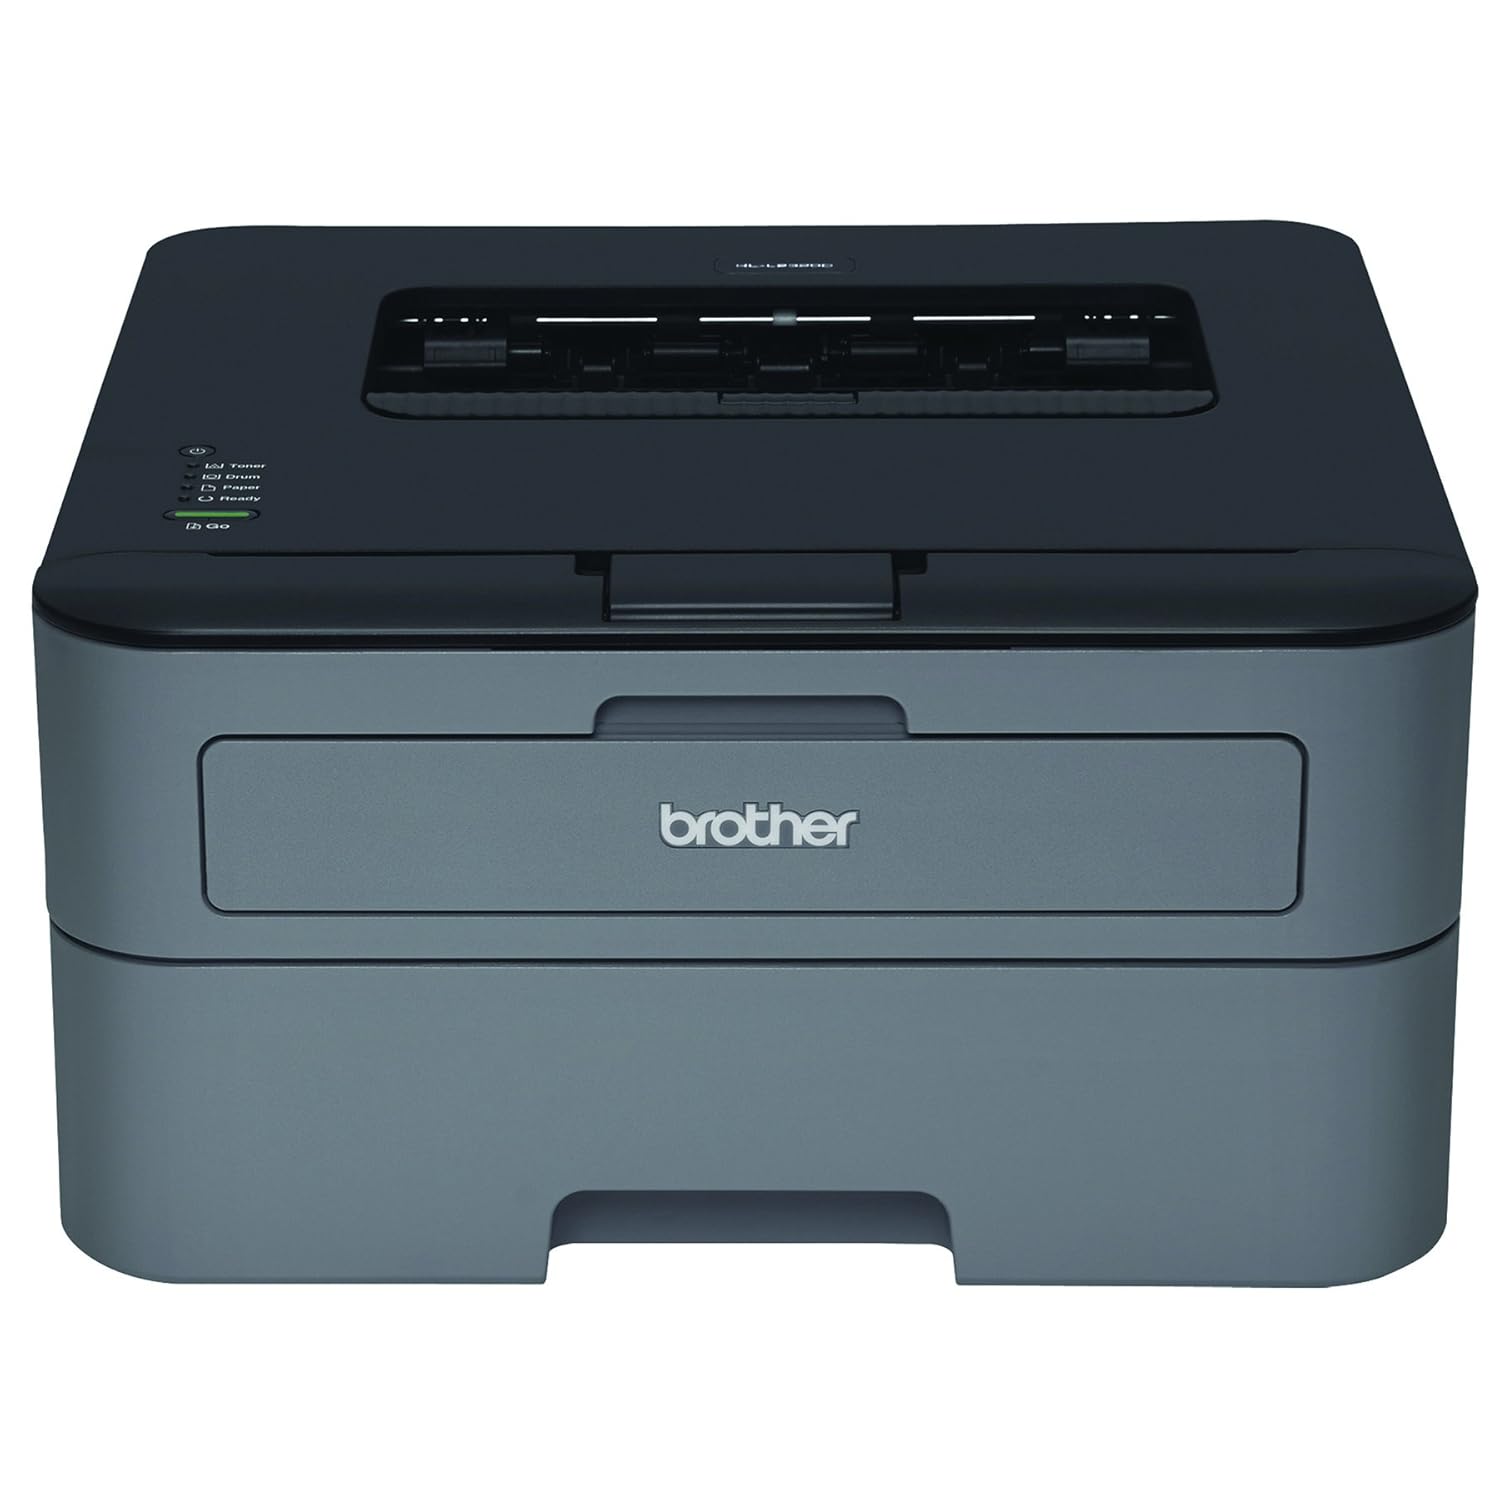
I was expecting to spend in the $150 - $175 range to get started but then I happened to come across a free HP Laser printer on a local Facebook auction site.  I just printed a test page with it and once I get toner for it I think it will be perfect.   I just ordered toner off of Amazon.ca for $11.00 .  Not too shabby and if it doesn't work out the way I expect I can always re-list the printer on the auction site.  I was originally going to order the Brother HLL2320D since they are under $80 at Amazon.ca


I also managed to pick up a Scotch Thermal Laminator last week for $40 and now I just need to order some Deco-Foil.   I can't wait to get started!